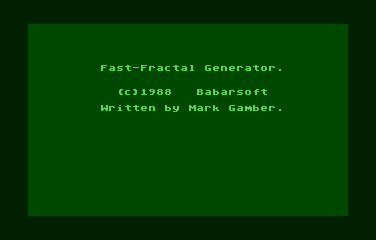
Fast-Fractal Generator
Fast-Fractal Generator (C) 1988 Babarsoft
- By Mark Gamber
- Create, load and save fractal graphics
- DOS files
Fast-Fractal Generator
(c)1988 Babarsoft
Written by Mark Gamber.
Released to the Public Domain.Fast-Frac is a fractal generator which boasts a number of features not found in other fractal programs. The most notable is a custom floating point add, subtract, multiply and divide package which greatly enhances the speed of the generator.
Fast-Frac works on any Atari with at least 48K. It uses graphics 8 for maximum resolution. To load Fast-Frac, simply type “L” from DOS 2.x and type in the filename. Sparta DOS users need only type the filename. Fast-Frac will load and run.
After the title screen, you have the option of loading a previously saved fractal picture. If you have none on disk, type “N”. Otherwise, type “Y” and enter the filename of the picture. No device or extender is needed. Only disk drive 1 is used and the extender is assumed “.FRC”, although you can use your own.
If you load a program, you will be sent to the magnify mode. More on that later.
If you choose not to load a picture, you will be asked for certain data in order to draw a picture. You may enter the data, or just press RETURN for the default settings which draw the entire Mandelbrot set. This data consists of:
Real Center: This is your X axis on the screen. (left and right)
Imaginary center: The screen’s Y axis (up and down).
Size: The size of the area you wish to plot on the axis scale. Not pixel size!
Iteration limit: How many times the program is to loop before giving up and assuming the pixel is infinite.
Minimum iteration: How many times to skip the pixel value comparison before beginning comparisons. In other words, if you set this to 10, it will simply loop 10 times before checking to see if the pixel value is greater than 2. Unless you know what you’re doing, leave this at zero.
You will be asked if you’re done. Press Y or N. If not, you will need to re-enter the data as above.
Now, if you wish to save the upcoming picture, press “Y” and enter a filename as outlined above. At this point, the program will begin computing the fractal image. Although this program runs some 3 to 4 times faster with the custom floating point routines, it can still take a long tme to finish the screen. But don’t worry, you can remove your disk and turn off the drive. Fast-Frac will sound an alarm when done. Set up your disk and press RETURN to save the picture. You’ll also notice that the screen blacks out. Press START to view the screen. While START is pressed, nothing happens, so don’t hold it too long!
After saving or loading, you will go to the magnify mode. In the center of the screen is a pixel you can guide with the joystick. Move it to an area of interest and press the fire button. Now there’s 4 pixels! These are the corners of the box you want to view. Move the joystick right or left to make the box bigger or smaller. You may press the firebutton to complete it, or press START to find another area of interest.
After defining your box size, you can load another picture or use the data you just pulled from the picture to begin another picture.
I’m not going to explain fractal geometry, as there’s a number of columns that can do it better. But if you want to experiment, this is the program to do it with!
Happy hunting… Mark Gamber
Bootable disk (ATR / 7-Zip): Fast-Fractal Generator


People’s Thoughts